
(F2) How to Bottle, Flavor, and Carbonate Your Homebooch
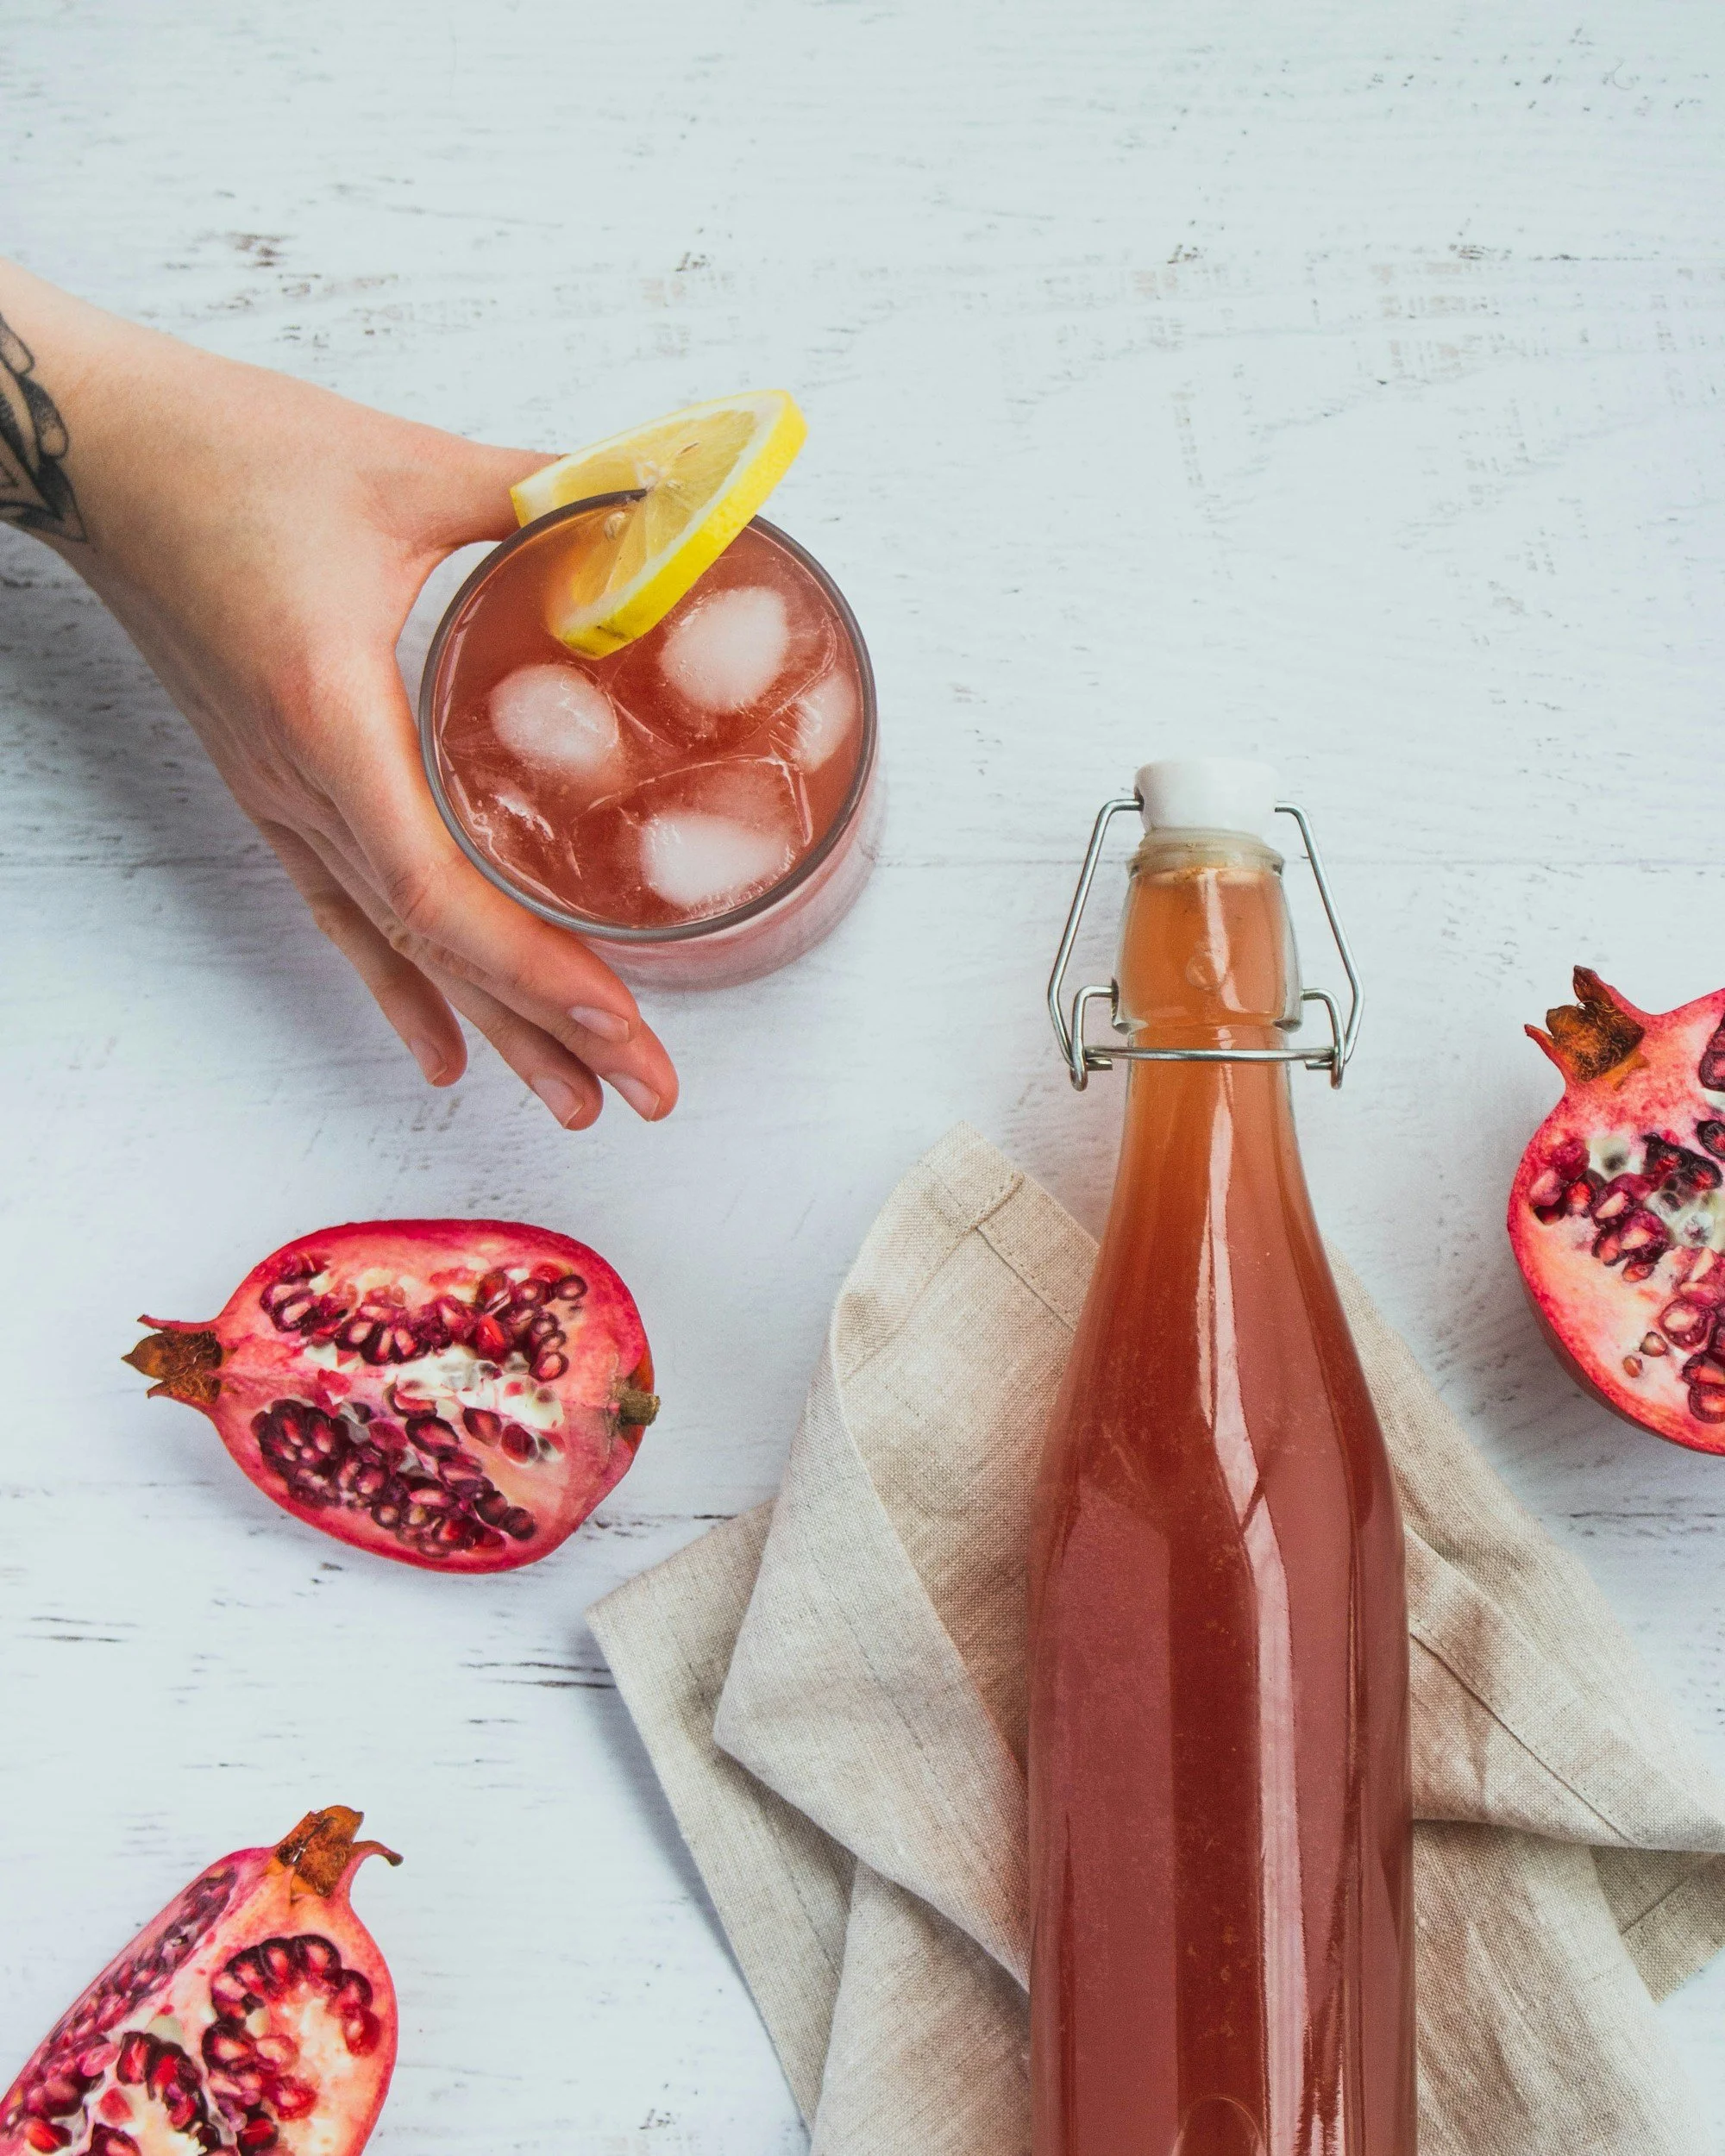
Flip top bottles with a rounded base and thick glass are a beginners best friend
Now that you have a batch of kombucha that has fermented to the point you like it, it's time for the fun part! This is known as F2. I don't put whole ingredients in bottles (anymore!). It might look pretty and seem easy to do so, but there are a number of downsides. Inconsistent carbonation, "expired" ingredients, and hard to clean bottles are just a few of them. I'm not going to tell you what to do, but trust me, this is so much better.
Materials
Flip top or other glass bottle rated for some pressure (if carbonating).
Funnel or bottle wand
Strainer or cheesecloth
Flavor ingredients of your choice (more on that later)
1) Saving SCOBY
First things first, you need to fish out the pellicle and about 2 cups of liquid, stirring first. Do so with clean utensils, being careful to keep them completely soap free before putting them in your kombucha. Clean hands and utensils completely devoid of soap is a strong rule of thumb. Keep this SCOBY liquid in another glass/steel/ceramic container with a cloth cover, this is what you'll use to make your next batch. If it isn't fairly mature (sour or fermented for over a week) you should let it sit for a few days before using it to make a new batch.
2) Flavoring
When choosing your ingredients, try to use ingredients that are as raw as possible. Many preservatives will kill your culture, and preserved ingredients don't taste as good anyways. Ingredients will taste different whether they are fresh, dried, cooked, etc. Play around to see what you like.
A general rule if you need help choosing ingredients is to pick one fruit and one herb and see if they sound good paired. It offers a food source for F2 and will create something more complex than a 1-note sour fruit drink.
Now you're going to do what is technically a 1.5F because were putting these ingredients in the large container the kombucha is already in and not putting a lid on it (still a cloth though). If you have fruits, smash them up and stick them in (puree not suggested). Pour juice straight in. Herbs you can chop first. Spices can be bloomed and crushed. Later on you can, and should, experiment with prepping flavor ingredients (like making simple syrups or roasting) but for now just do what is easiest. Here is a very general guide to ratios:
Fruits: Half a cup smashed per "gallon"
Herbs, spices, teas, tisanes: 2 Tablespoons per "gallon"
"Gallon" can be a full gallon or minus your 2 cups for next time.
The strength is very subjective, you'll figure out what you like after the first batch or two.
Now you'll let your ingredients sit in the kombucha at least overnight, if you have ingredients that can oversteep and you don't want them to, strain them around when they would start to (8 hours is usual). Otherwise, strain between 12-24 hours depending on when you like the infusion.
If you don't want to age or carbonate, you can stir and pour into bottles, and you’re done! Otherwise, take your filled bottles and here's the next step.
3) Carbonating
The biggest topic when it comes to homebrewing. People often struggle to get their carbonation to the level they want to. I'm going to share every tip I can think of to help get your process down.
BASICS: Make sure you stirred before bottling to evenly distribute yeast. If your kombucha flavorings had sugar you should be fine to carbonate, and if they didn’t, you can add a teaspoon of simple syrup to each bottle. Now you let them sit! Here’s your troubleshooting guide:
1) It may be 1 day, but it may also be 10. There are a lot of factors that come into play in carbonation. Depending on how many of those are in favor of carbonation or not, you may have this large discrepancy between carbonation times. The following tips will tell you how to avoid the mystery of time.
2) Use a test bottle. There are two types of test bottles. The first, slightly less practical way, is taking one of your many bottles after a certain amount of time, cooling it down, and opening it to see if it is carbonated. If it isn't don't put the rest in the fridge yet! The second kind of test bottle, is filling a BPA free plastic bottle. I know what you're thinking: I said don't use plastic. As long as you aren't leaving the kombucha in it for a long amount of time, and you replace the bottle often, it will be ok. You also don't have to drink it, but that’ll be hard to resist. And don't use super cheap and thin bottles. This method is great because you can squish the bottle to see how much pressure has built up. If it is firm, you can try cooling it down and opening it to see exactly how carbonated it is. If it's rock solid immediately refrigerate your other bottles and be careful, you probably let them overcarbonate.
3) Factors of carbonation. Warmer temperatures increase carbonation. Strength of culture from F1 increases carbonation. Residual or added sugar increases carbonation. Wild yeasts, enzymes, and nutrients increase carbonation (like ginger, pineapple, and tea respectively). Amount of yeast and stirring will increase and even out carbonation. These are the main factors, and I'm not saying they are things you have to do, but be aware for your time.
4) I'm not getting carbonation. You're missing one of the factors above or not giving it enough time. Is it really cold in your house? Made sure to add a little sugar, especially if you didn't add fruit? Were you using chlorinated water? The only cause beyond these factors is bottle seals, every once and a while bottle seals will be faulty and need to be replaced.
5) Ingredients in bottles mess with carbonation. Any solid in the bottle creates nucleation points, points for carbonation to stick to instead of dissolving into your liquid. It makes your carbonation come out of the bottle when you open it, either causing explosions or making your carbonation release all at once.
6) Refrigerate your bottles after. Cold bottles leads to carbonation dissolving into your liquid, reducing the chance of overflow when you open a bottle and making the fizz last longer in your liquid.